Supplies
Add supplies from a photo
Photograph a shelf and the app turns everything on it into inventory items you approve.
Last updated July 7, 2026
Typing in a full pantry one can at a time is the slowest part of getting prepared. Photo import fixes that. Take one photo of a shelf, a bin, or a case of water, and Provision Planner reads it and drafts the items for you. Nothing is saved until you review the list and approve it.
Note
Add from a photo on the web
Open Supplies
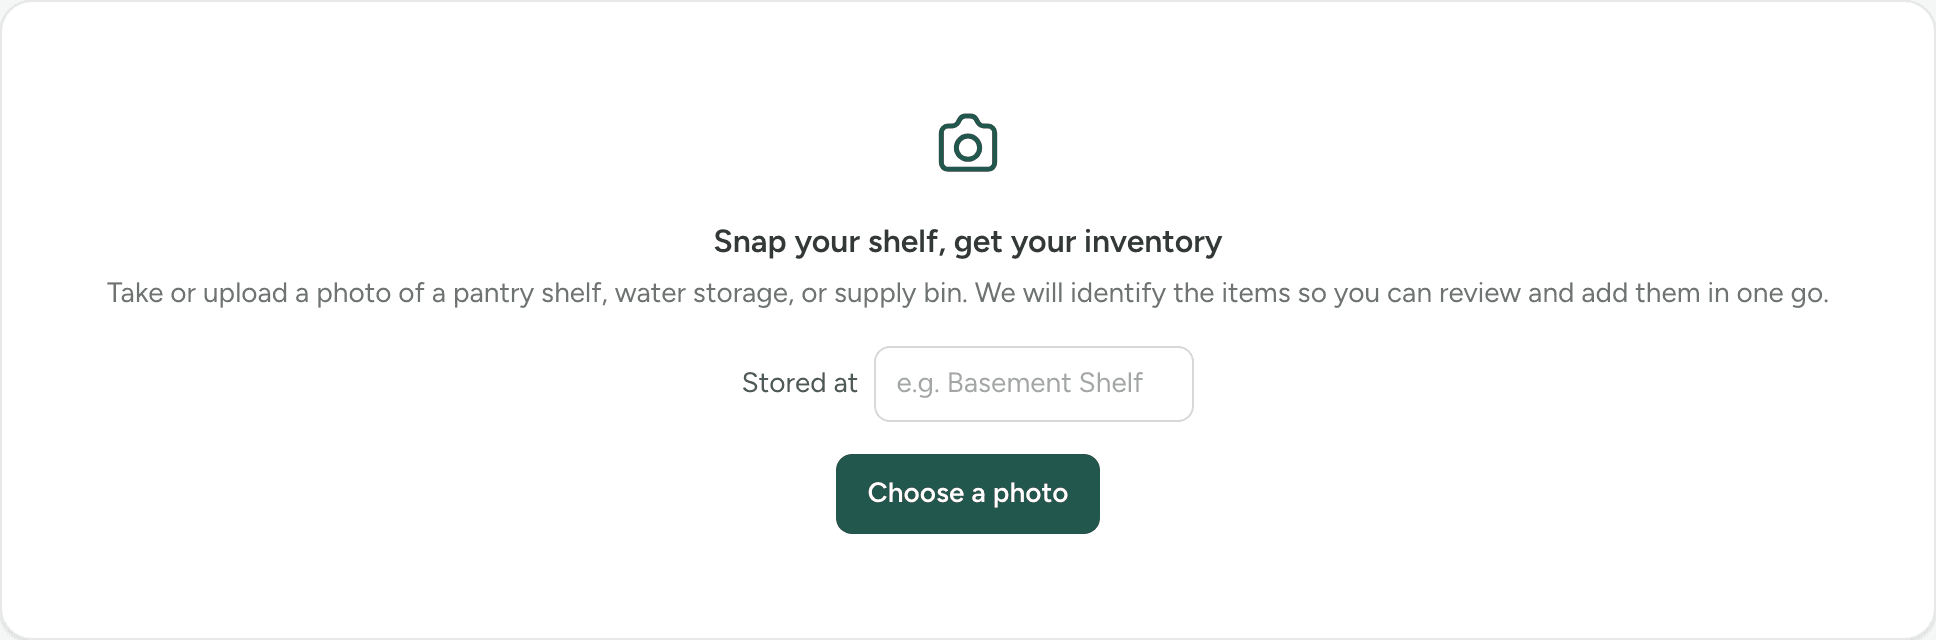
Choose Supplies in the sidebar, then click Add from photo in the top right.
Say where it's stored
Optional but useful: pick a storage location, or type a new one like Basement Shelf. Every item in the batch is filed there, so you never assign locations one by one.
Choose a photo
Take or upload a photo. Frame the whole shelf straight on, with labels facing you.
Review and add
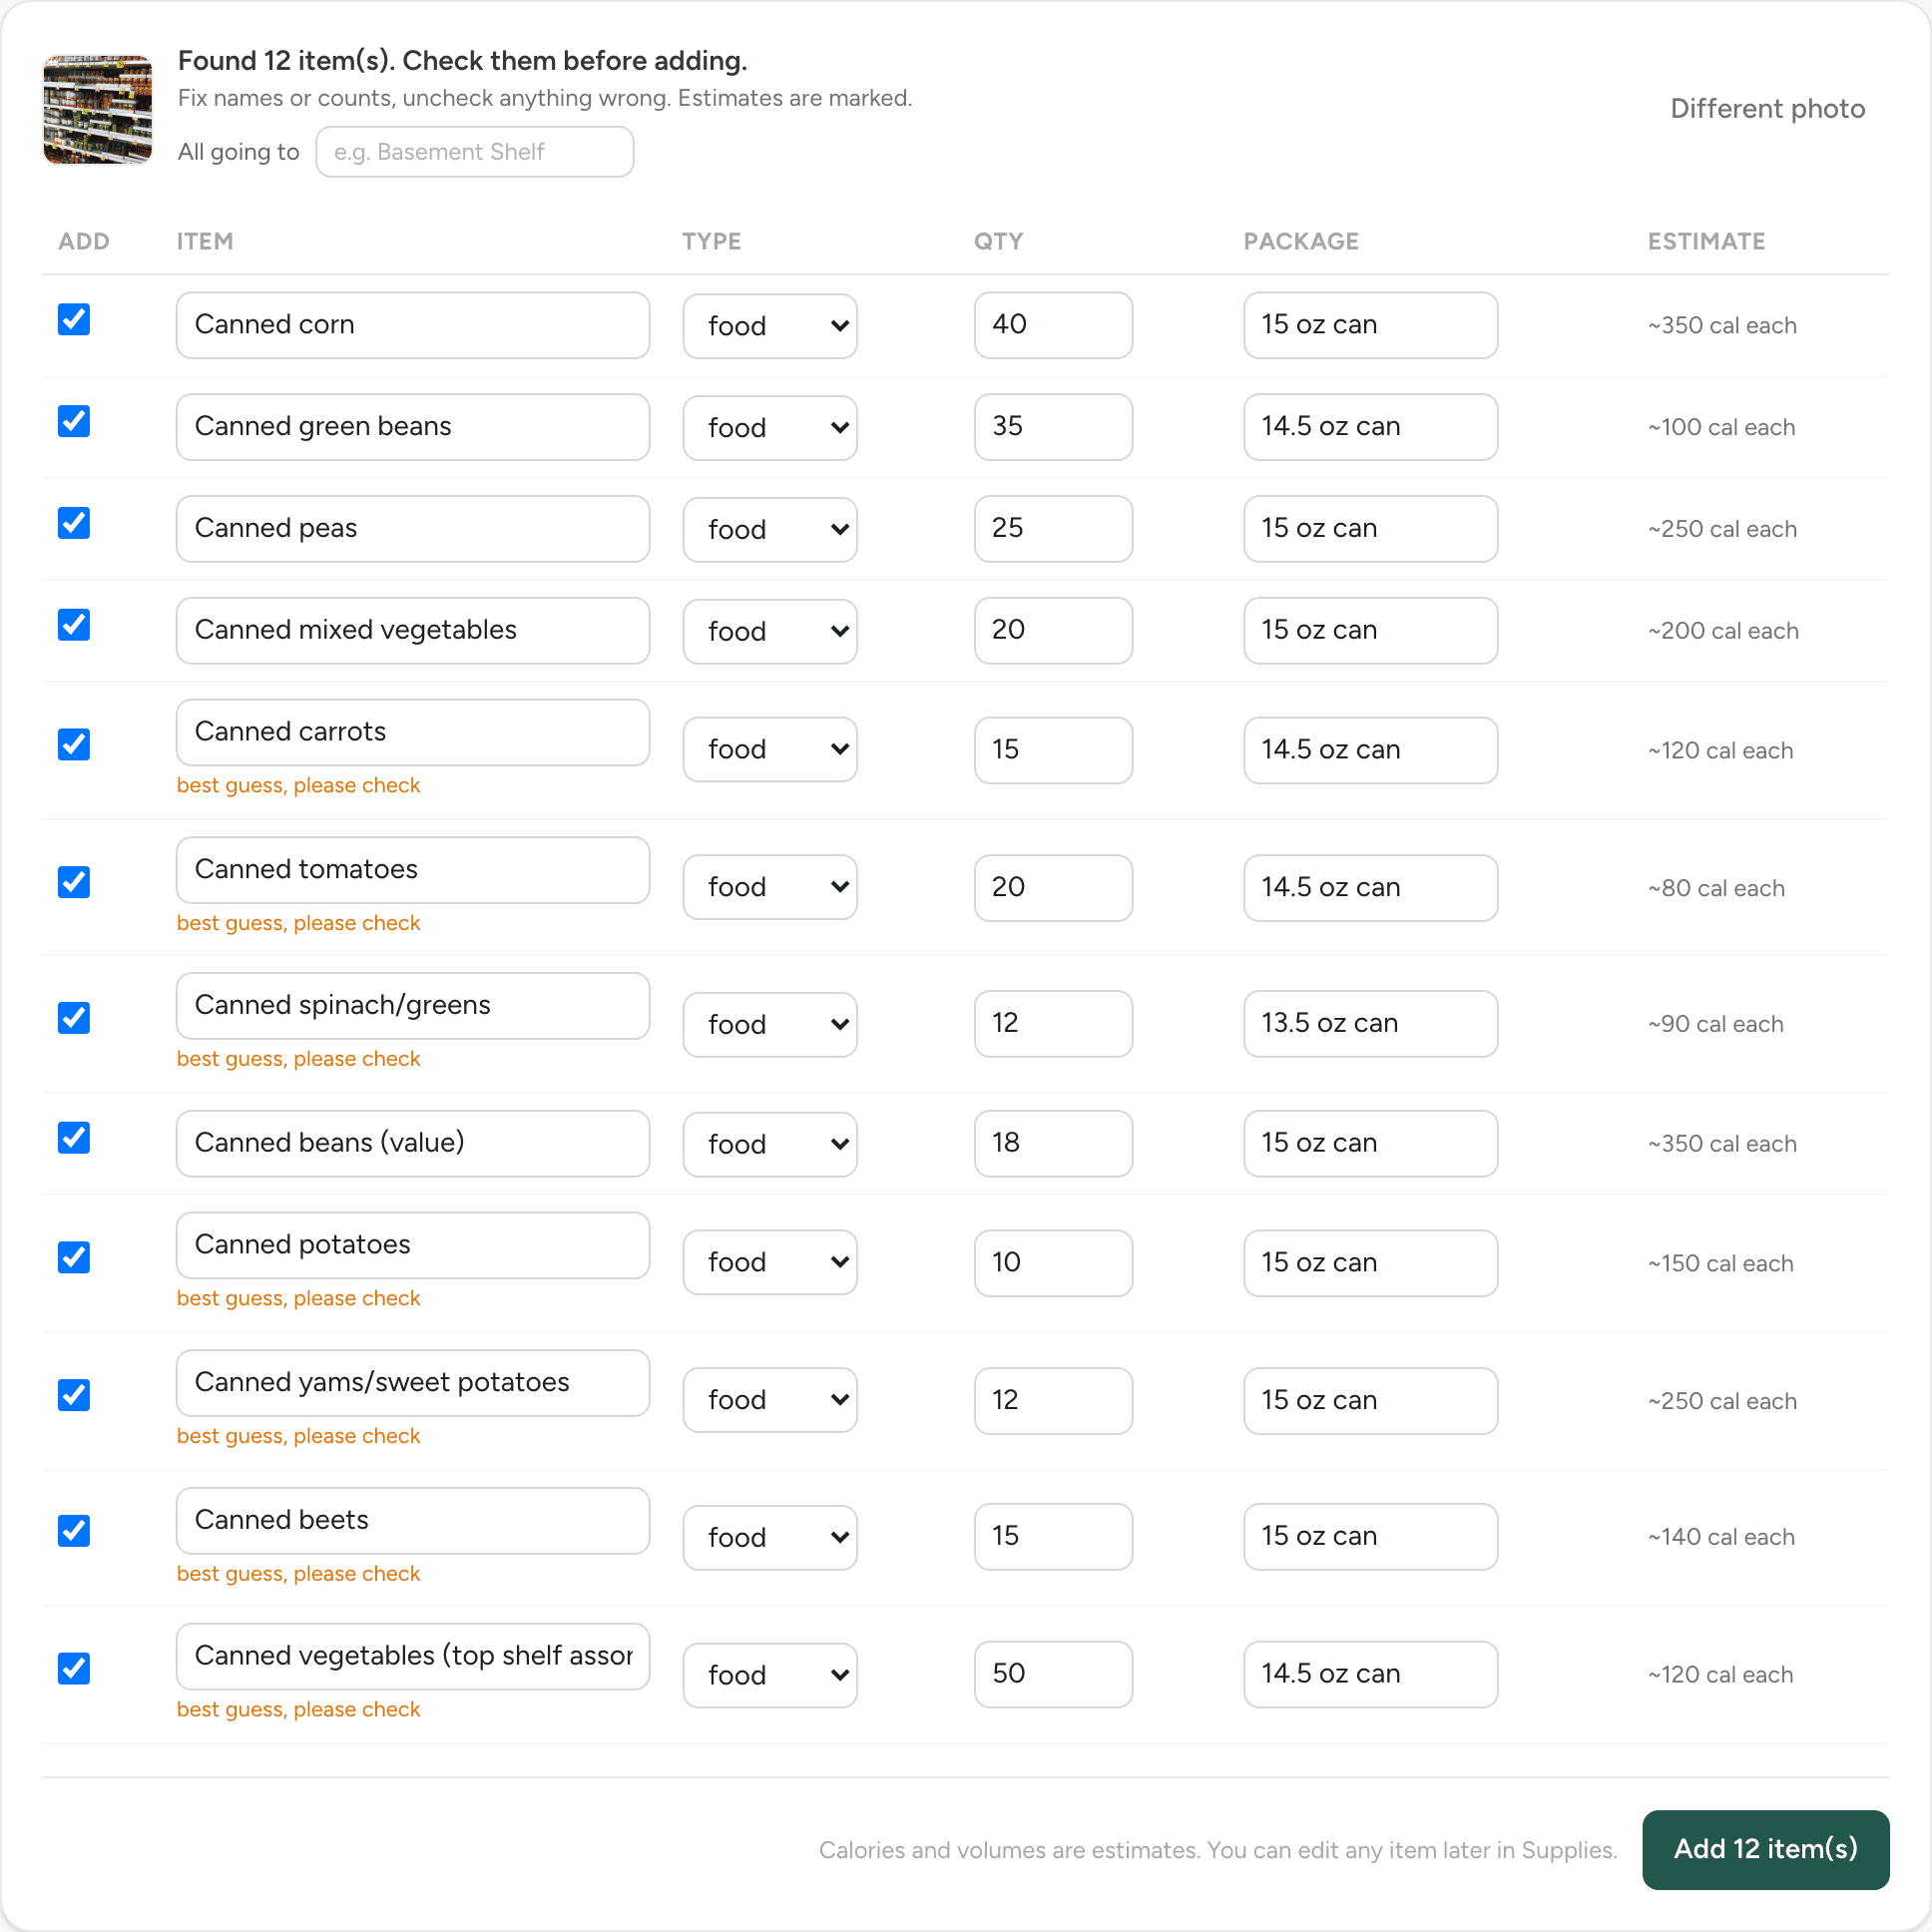
The app lists what it sees with names, counts, package sizes, and estimates. Fix anything, uncheck anything you don't want, then click Add.

On your phone
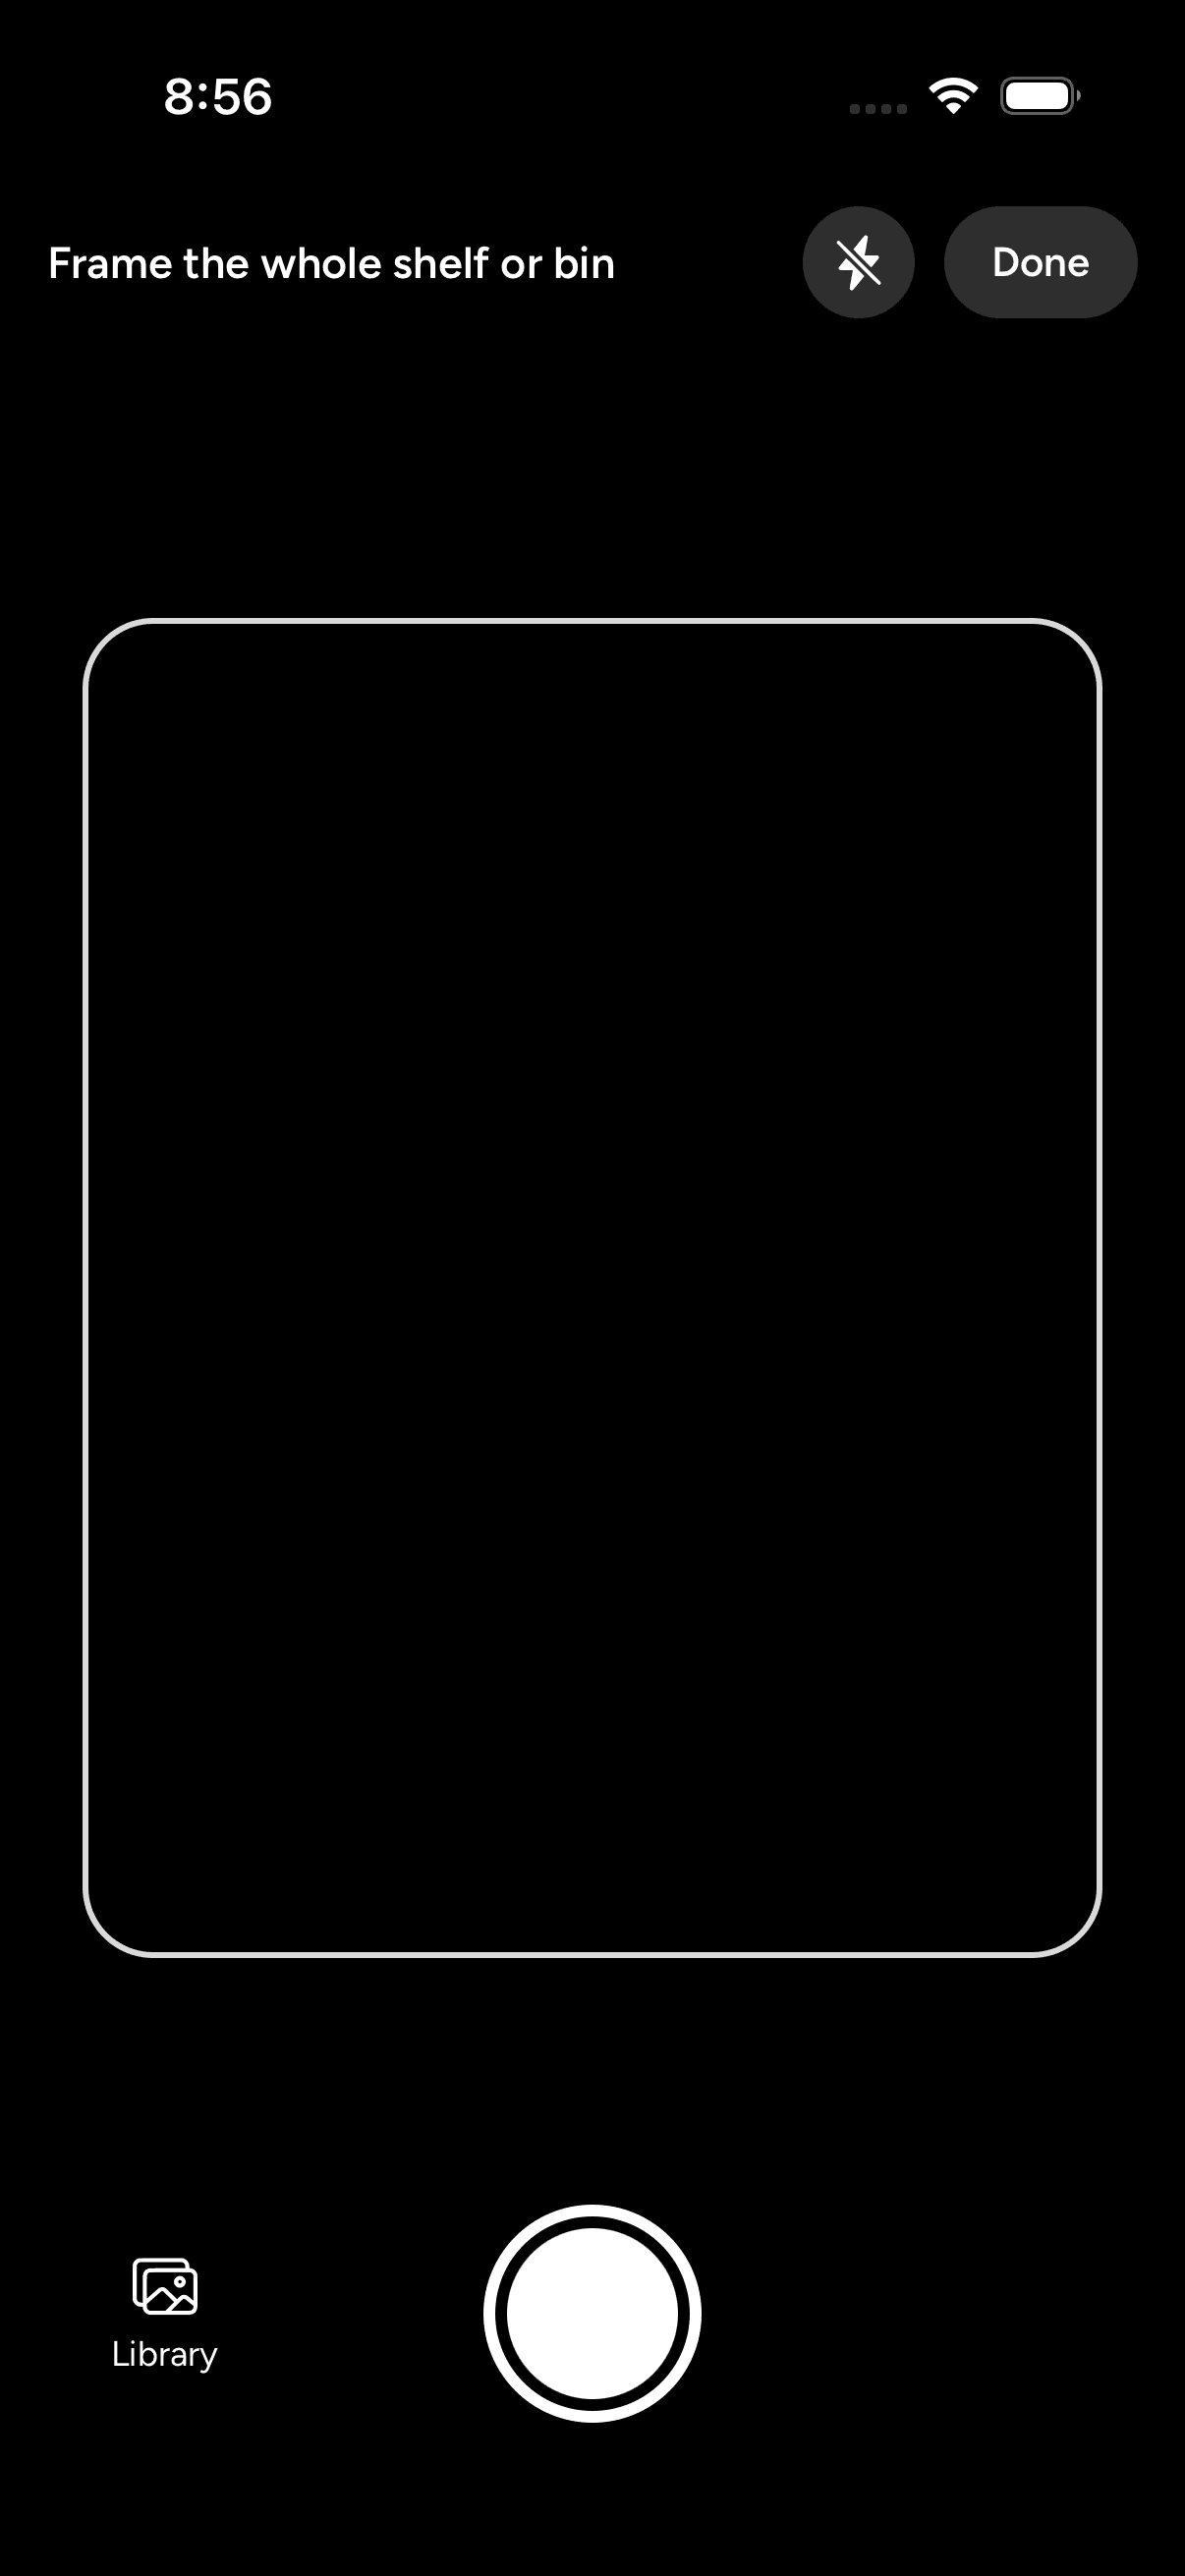
The mobile app opens a full screen camera, just like the barcode scanner. Tap the plus tab, choose Photo, and snap the shelf. The Library button lets you pick a photo you already took from your camera roll.
What the app fills in
- The items it can identify, one entry per product, with a count of how many it can see.
- Package sizes in plain words, like 15 oz can or 20 lb bag.
- Calorie estimates for food and volume for drinking water, so new items count toward your readiness numbers right away.
- A "best guess, please check" note on anything it wasn't sure about.
Everything stays editable. You can rename, recount, or recategorize during review, and any item can be refined later in Supplies, for example to add an expiration date from the label.
Heads up
Tips for a good photo
- Photograph one shelf or bin at a time instead of a whole room.
- Face the shelf straight on with the labels pointing at the camera.
- Good light matters more than a good camera.
- Just home from a supply run? Line everything up on the counter and photograph it before putting it away.
Tip
Your photo is read once to draft the list and is not stored.