Supplies
Add your first supplies
Log what you already have at home and watch your readiness numbers come alive.
Last updated July 4, 2026
Everything in Provision Planner starts with your supplies. The fastest way to feel the app working is to walk to your pantry and log a few things you already own.
Add an item
Open Supplies
Choose Supplies in the sidebar, then pick the category tab that fits your item (Food, Water, Health, Hygiene, or Energy).
Click Add new
Every category has an Add new button in the top right.
Choose the item type
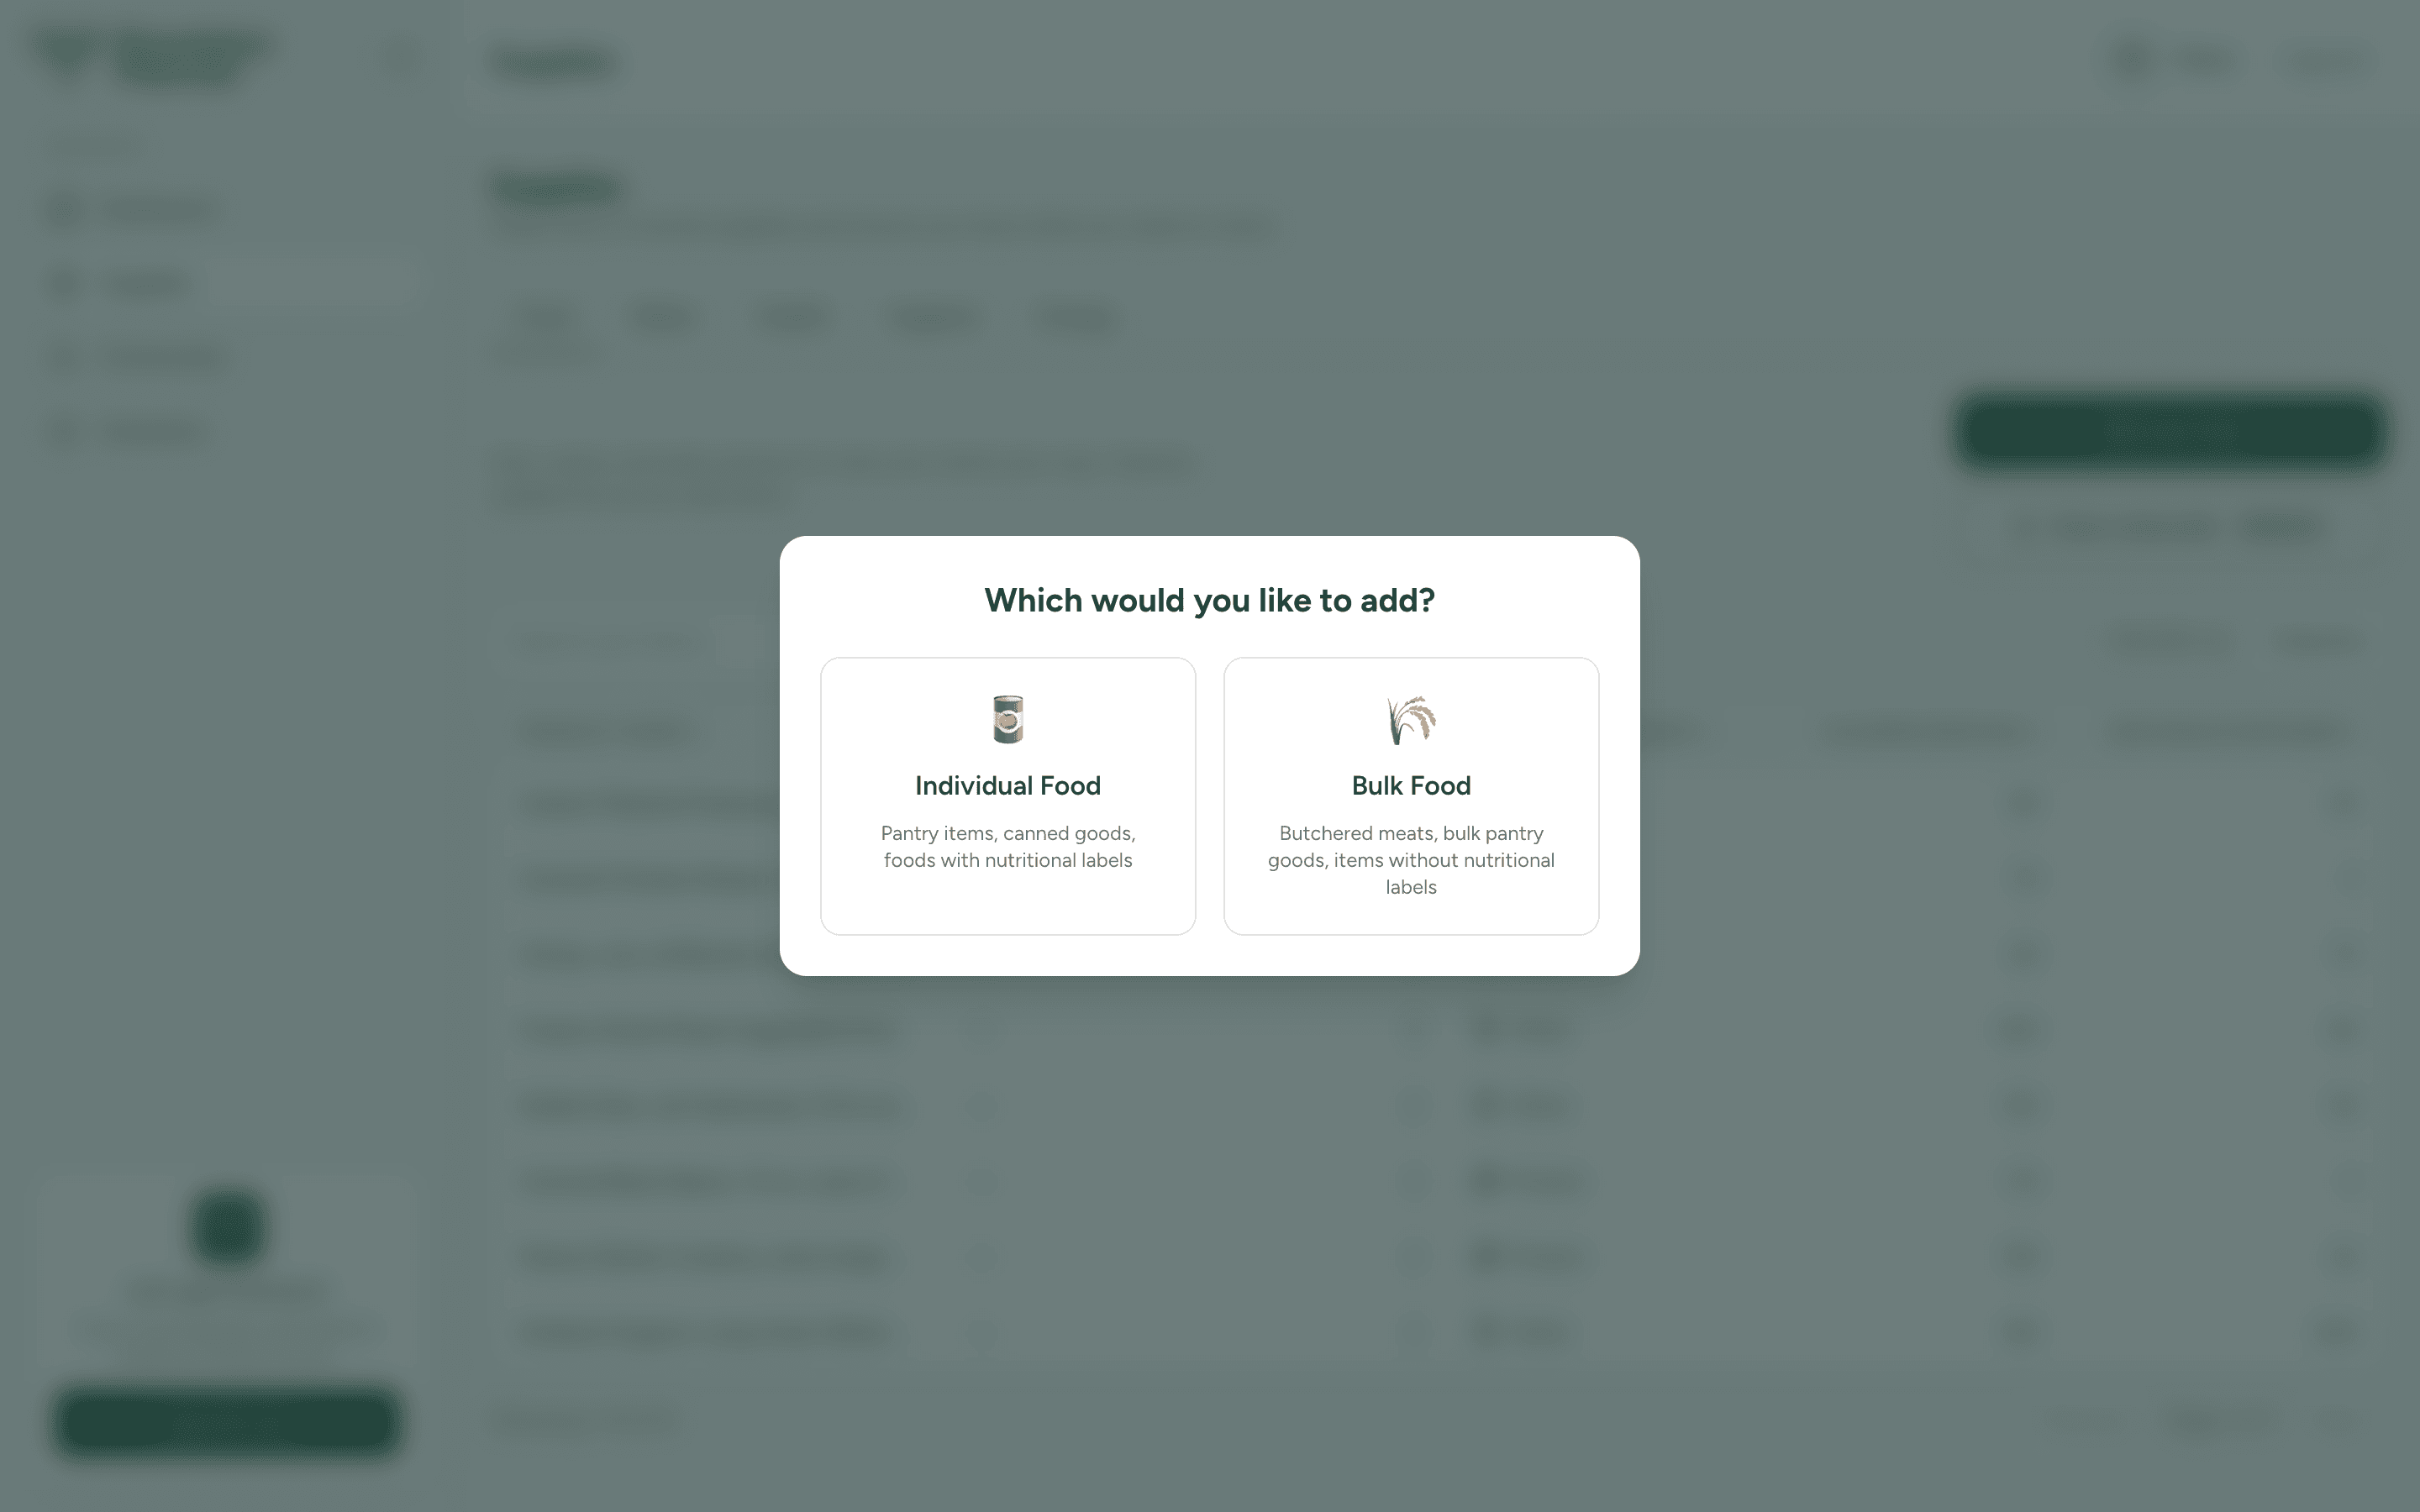
For food, you'll pick between Individual Food (pantry items and canned goods with nutrition labels) and Bulk Food (butchered meat, bulk bins, anything without a label).
Fill in the details
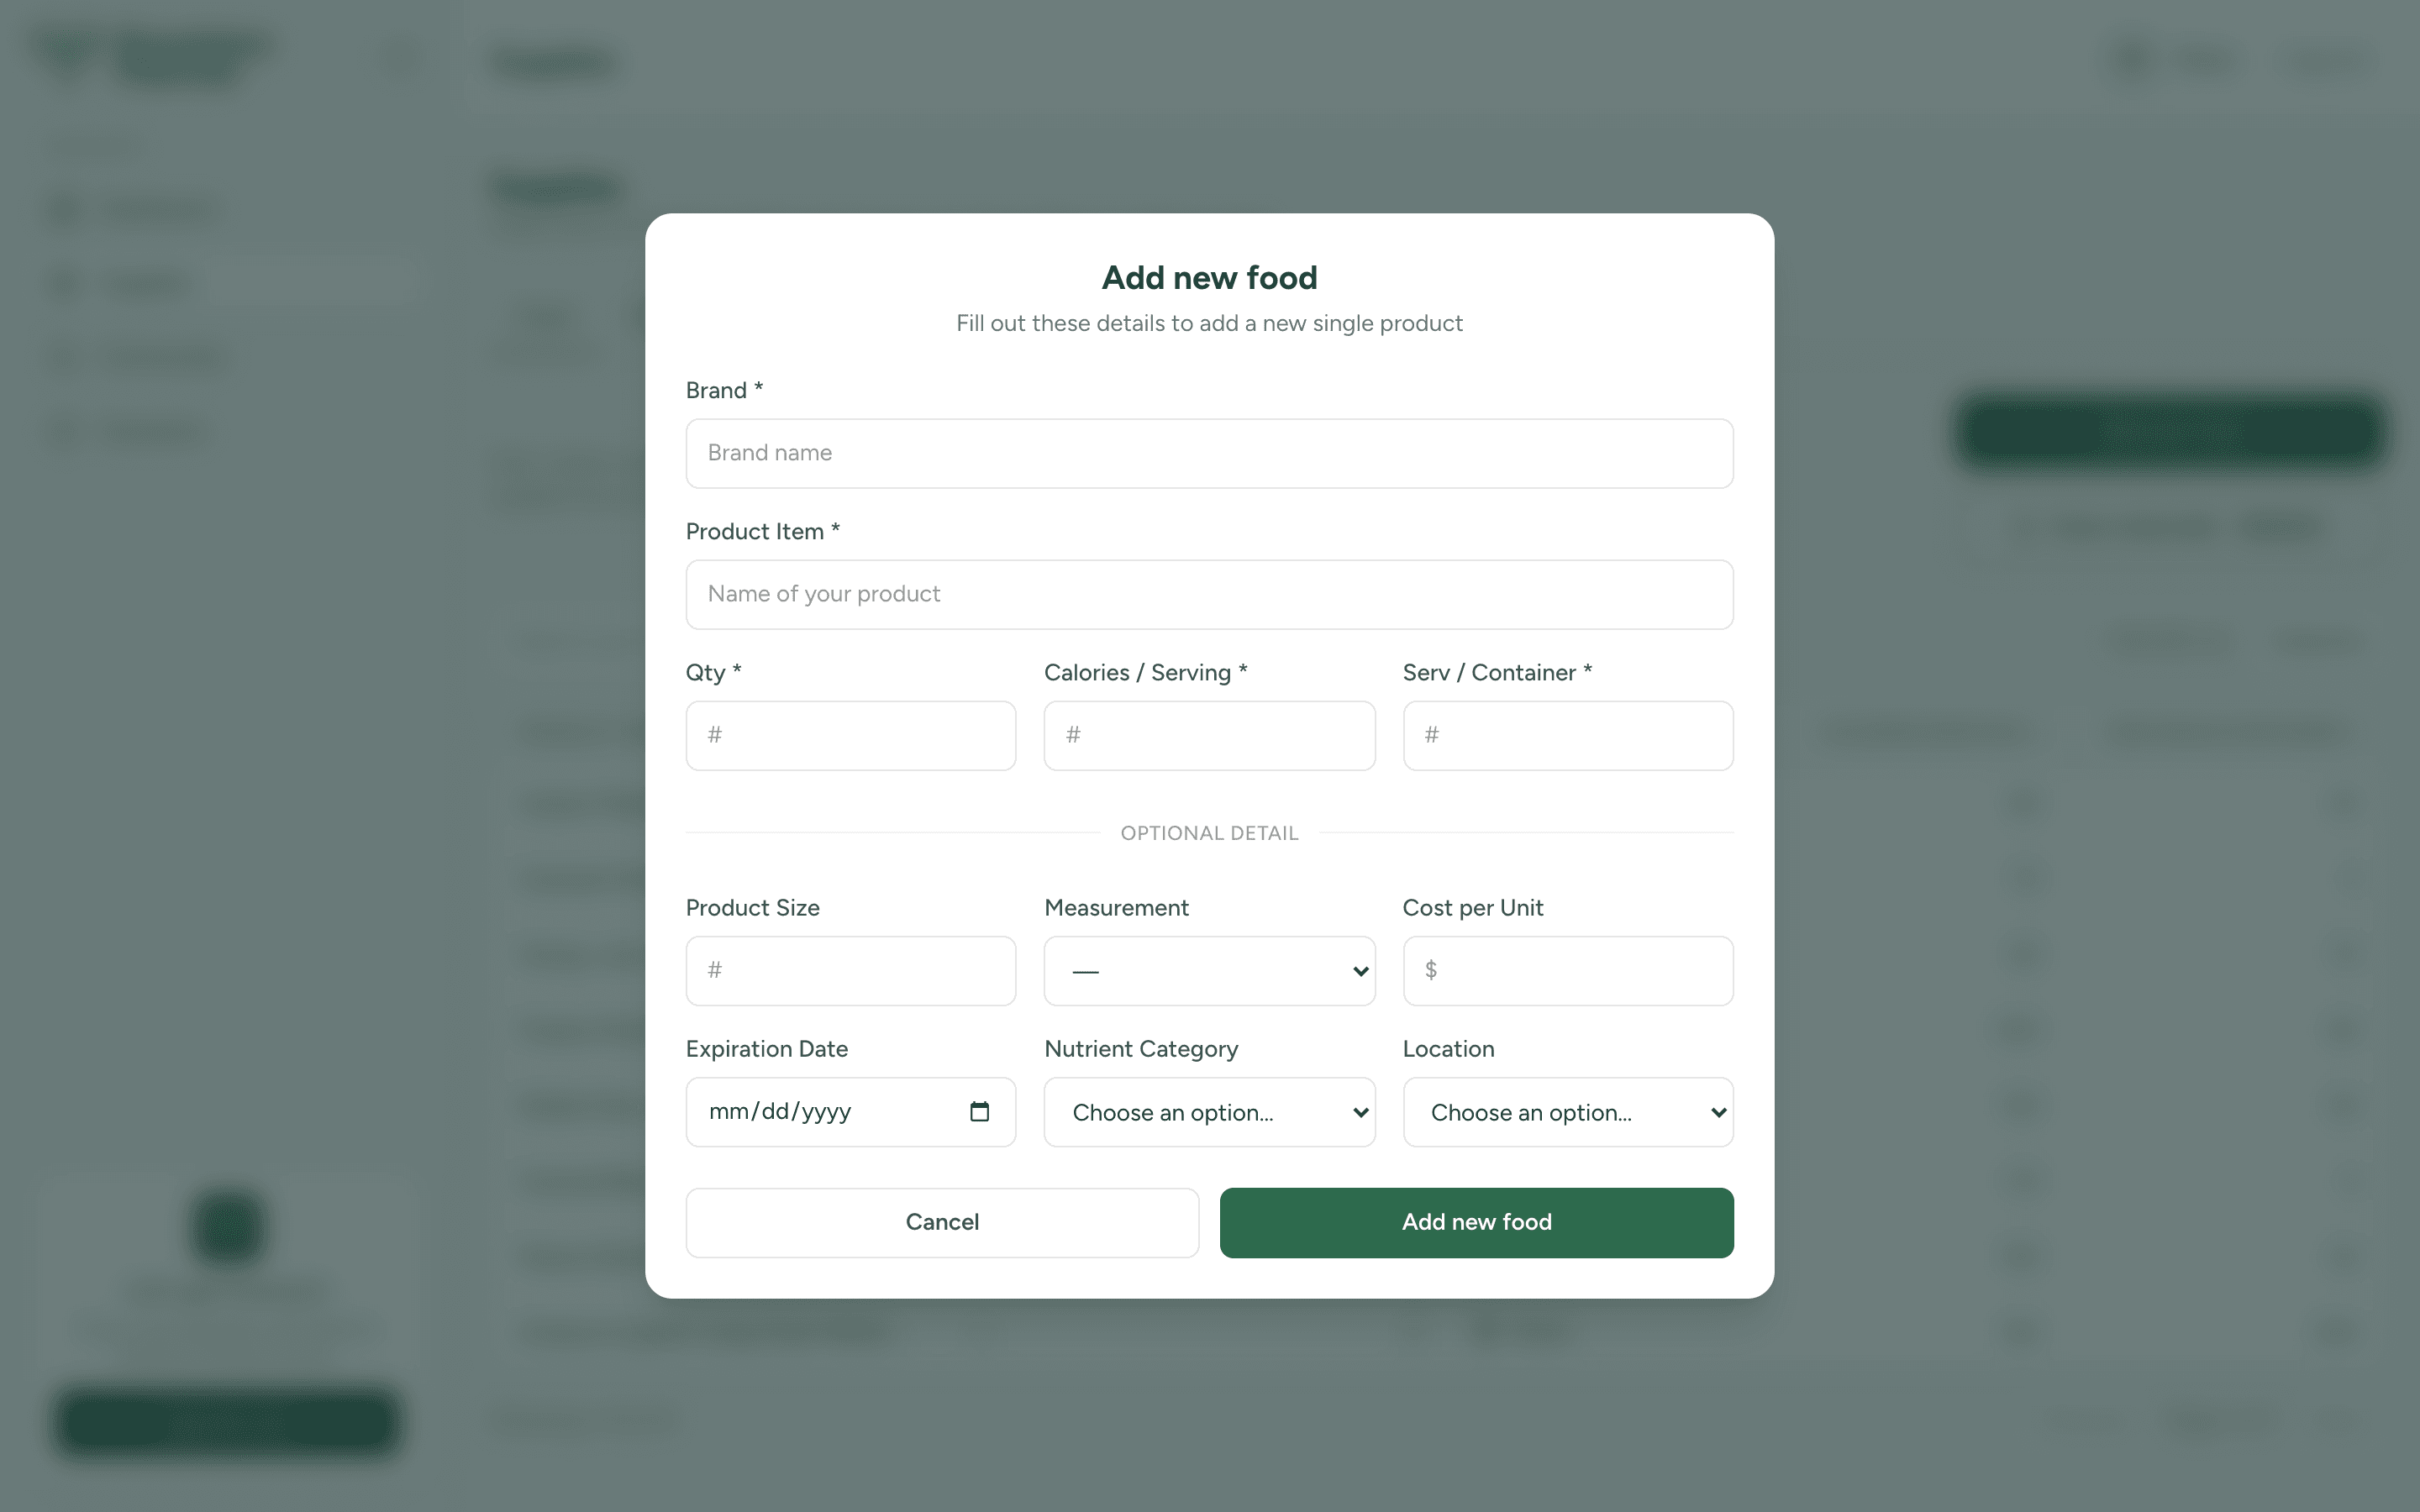
Enter the brand, product name, quantity, and the nutrition basics from the label. Optional fields like expiration date, cost, and storage location make your tracking richer, but you can skip them and add later.
Why calories and servings matter
For food, the app uses calories per serving and servings per container to work out exactly how much fuel each item holds. That's what powers your Calories stored and Food duration numbers on the dashboard. Copy the two numbers straight off the nutrition label and the math takes care of itself.
Tip
Premium members can scan a product's barcode with a camera and have the details fill in automatically. It's the fastest way to log a big pantry. See Barcode scanning.
What happens next
As soon as an item is saved, every number updates: your dashboard, your scenarios, and your printable Emergency Plan. Add a case of water and watch your water duration jump.